
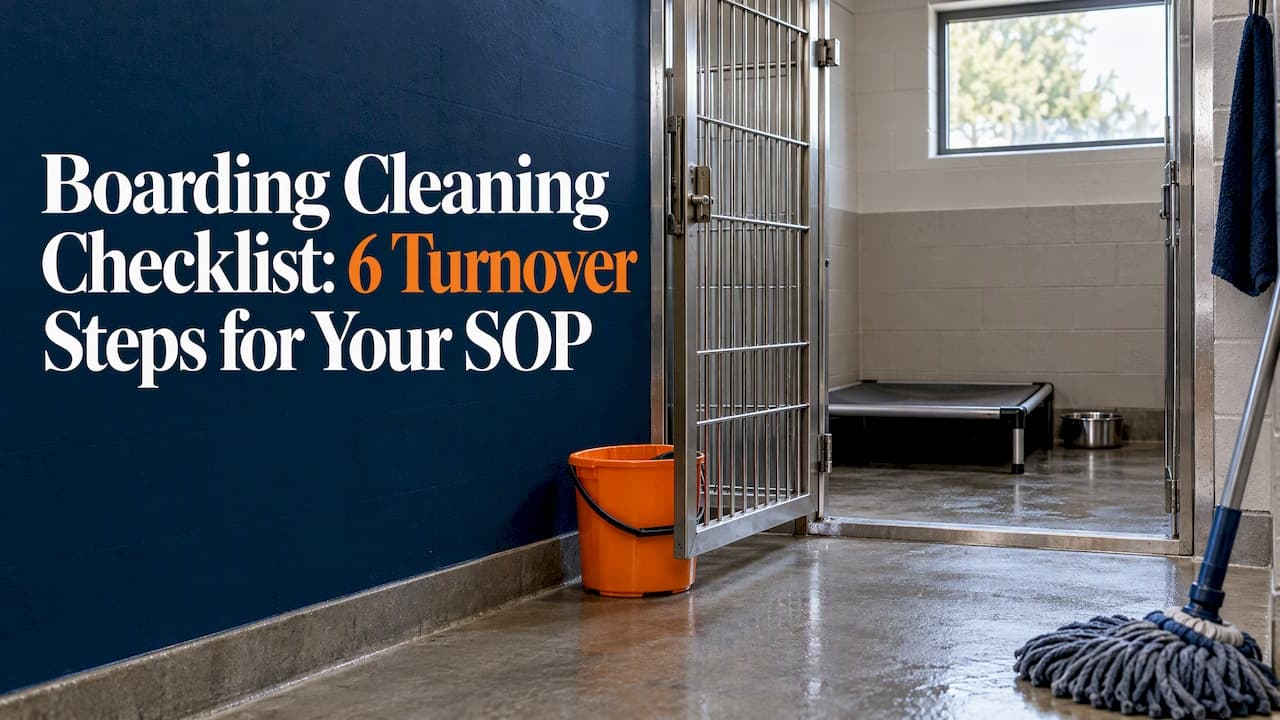
Between every boarding guest, the sequence is non-negotiable: remove waste, clean with detergent, rinse, disinfect with an EPA-registered product at the labeled dilution and contact time, dry, inspect, then restock. Keep a written infection-control plan on-site, train staff on PPE, and never skip a step just because the next guest is already in the lobby.
TL;DR:
- Swap bowls, toys, and bedding between animals, and record staff initials, completion time, problems, and a final readiness sign off for inspection.
- Scrub drains and floor seams weekly, launder all bedding, and clean walls to shoulder height; avoid high pressure sprayers because they can aerosolize pathogens.
- Plan for roughly 10% of capacity as dedicated isolation space, with color coded tools, separate waste, and bedding washed apart from general loads.
- Bleach solutions need at least 10 minutes of contact before rinsing; use cold water, mix fresh batches, and never combine bleach with ammonia or detergents.
- Keep an on site infection control plan listing schedules, products, dilutions, PPE, and isolation procedures, alongside accessible safety sheets and signed cleaning logs.
Table of Contents
- Daily kennel turnover checklist for every enclosure change
- Weekly and monthly deep cleans that prevent biofilm buildup
- Isolation and infectious-animal protocol: setup and daily workflow
- Choosing and using disinfectants: EPA registration, dilution, and contact time
- Staff training, checklists, and recordkeeping inspectors expect
- Converting checklists into templates operators actually use
- PawBizWorks templates built for boarding cleaning SOPs
- FAQ
- Sources
Daily kennel turnover checklist for every enclosure change
A turnover run typically takes several minutes per enclosure depending on size and soiling, with shorter times for small cat condos and longer for large dog runs with outdoor access. Facilities with a dozen or more kennels usually run turnover in batches rather than one enclosure at a time, which keeps staff moving and prevents cross-traffic between clean and dirty zones.
The sequence follows four stages that the NVAP cleaning and disinfection guide lays out clearly: dry clean, wash, rinse, and dry, with disinfection layered in before the final dry.
- Dry scrape to remove solid waste, hair, and bedding debris before any liquid touches the surface.
- Wash and scrub with detergent to break down grease, saliva, and organic film.
- Rinse thoroughly so no detergent residue remains to interfere with the disinfectant.
- Apply an EPA-registered disinfectant at the labeled dilution and let it sit for the full contact time.
- Rinse again if the label requires it, then dry the surface completely before the next animal enters.
- Inspect the enclosure, latch, and surrounding floor before marking it ready.
Certain items need extra attention every single turn:
- Latches and door handles, which pass through more hands than any other surface.
- Feeding and water bowls, swapped for clean ones rather than wiped in place.
- Play items and shared toys, pulled for washing rather than reused across animals.
- Bedding, replaced or laundered between occupants, never spot-cleaned and reused.
A simple shift sheet with staff initials, time completed, any issues found, and a final ready sign-off turns this from a verbal habit into a record an inspector can review.
Pro Tip: Keep a dry-erase sign-off column on the kennel door itself so a supervisor can confirm turnover status at a glance without digging through paperwork.
Weekly and monthly deep cleans that prevent biofilm buildup
Daily turnover handles what guests leave behind, but drains, grout lines, and wall surfaces build up a biofilm layer that routine wiping never reaches. Left alone, that layer becomes a reservoir for the exact pathogens a disinfectant is meant to control.
Weekly tasks:
- Scrub drains and floor seams where organic material collects.
- Rotate and fully launder all bedding, not just the pieces that look soiled.
- Wipe down walls to shoulder height in every run.
Monthly or seasonal tasks:
- Inspect grout and sealant for wear that creates porous, hard-to-disinfect gaps.
- Check HVAC vents and filters for dust and hair accumulation.
- Deep-clean outdoor runs, including fencing and drainage grates.
For rinsing, low-pressure manual scrubbing is the safer default. The CDC veterinary compendium advises against high-pressure sprayers in routine kennel cleaning because they can aerosolize pathogens into the air rather than removing them. Reserve full facility downtime, meaning closing a block of runs for a half or full day, for seasonal deep disinfection or after a known illness exposure, and schedule it for a historically slow booking day rather than squeezing it between back-to-back arrivals.
Log every deep clean with the date, task completed, and staff initials. That log, alongside your daily turnover sheets, is often the first document an inspector asks to see.
Isolation and infectious-animal protocol: setup and daily workflow
A dedicated isolation area, physically separated and clearly signposted, keeps a sick animal from contaminating the rest of the facility. Public-health inspection guidance from King County expects an infection-control plan that spells out isolation procedures alongside your regular cleaning schedule, disinfectants, and PPE.
A few rules make the difference between an effective isolation zone and one that just moves the risk around:
- Reserve roughly 10% of total capacity for isolation space so you're never caught short during an outbreak.
- Use color-coded, dedicated tools for isolation only; never carry a mop or scoop from isolation back into general kennels.
- Favor disposable dishes for isolation animals rather than washable bowls that could cross-contaminate.
- Bag isolation waste separately and launder isolation bedding in its own cycle, apart from general-population loads.
Staff should know the escalation point in advance: persistent vomiting, bloody diarrhea, labored breathing, or a fever all warrant an immediate call to the attending veterinarian rather than a wait-and-see approach.
Pro Tip: Stock a dedicated isolation cleaning kit, separate buckets, mop head, gloves, and disinfectant, right inside or next to the isolation area so staff never have to borrow tools from the general supply closet.

Choosing and using disinfectants: EPA registration, dilution, and contact time
Cleaning and disinfection are two different jobs, and skipping the first makes the second far less effective. Organic material like saliva, feces, and hair shields pathogens from disinfectants, which is why the CDC's regulatory framework is explicit that detergents clean surfaces but don't reliably kill pathogens on their own, and that only an EPA-registered disinfectant applied at the labeled dilution and contact time does that job.
Bleach solutions need a minimum 10-minute contact time before rinsing, according to CDC guidance on disinfectant use, a detail that's easy to shortcut when a kennel is full and staff are moving fast.
A few handling rules matter regardless of which product you choose:
- Never mix bleach with other detergents or ammonia; the combination produces dangerous fumes.
- Mix fresh bleach solutions often rather than storing diluted batches for days.
- Use cold water when diluting bleach, since hot water accelerates breakdown of the active ingredient.
- Match the product to the pathogen of concern, for example an oxidizing agent where parvovirus control is the priority, and document that choice in your infection-control plan.
- Wear gloves and eye protection any time you're mixing or applying disinfectant.
Check the product label itself for registration and approved uses before relying on marketing claims alone.
Staff training, checklists, and recordkeeping inspectors expect
Converting the sequence above into a laminated shift sheet with initials, timestamps, and a notes column is what turns a good routine into a defensible one when something goes wrong.
- Train every new hire on the four-stage cleaning sequence, PPE use, chemical handling, and isolation protocol before their first solo shift.
- Refresh training at set intervals, not just once at hiring, since shortcuts creep in over time.
- Assign turnover to a dedicated shift block rather than squeezing it between other duties.
What inspectors typically ask to see:
- A written, on-site infection-control plan covering schedules, products, dilutions, and PPE.
- Accessible safety data sheets for every chemical in use.
- Signed daily cleaning logs and deep-clean completion records.
Batching turnover by section, rather than cleaning one run at a time between other tasks, reduces the chance a step gets skipped under pressure.
Converting checklists into templates operators actually use
Writing a checklist once is easy. Keeping staff following it on a packed Saturday is the real test. The most useful versions I've seen are built as editable shift sheets, not static PDFs, so an operator can adjust contact times for the disinfectant they actually stock, add local waste-disposal rules, and build in a clean handoff note between shifts.
The first adaptations operators usually make are swapping in their region's disposal requirements, tightening the isolation workflow to match their actual floor plan, and adding a line for the next shift to flag unfinished tasks rather than letting them disappear.
— Emmanuel
PawBizWorks templates built for boarding cleaning SOPs
Writing a full infection-control plan, turnover checklist, isolation workflow, and chemical log from scratch takes time most boarding operators don't have between bookings. Our Pet Business SOP & Operations Manual Kit gives you editable templates covering exactly this ground, ready to customize with your own dilutions, contact times, and shift structure.

Every template arrives as an editable Word file and a printable PDF, with instant digital access the moment you check out, so you can have shift sheets on the kennel wall by this afternoon. Browse the full operations and SOP collection to build out your boarding facility's documentation in one pass.
FAQ
What is the correct order for cleaning and disinfecting a kennel?
Remove solid waste first, then wash with detergent, rinse, apply an EPA-registered disinfectant at the labeled dilution, let it sit for the full contact time, rinse again if required, and dry completely. The NVAP cleaning and disinfection guide confirms cleaning must happen before disinfection, since leftover organic material blocks the disinfectant from working.
How long should disinfectant sit before rinsing a kennel?
Contact time depends on the specific product, but CDC guidance notes that bleach solutions need a minimum of 10 minutes before rinsing. Always check your product's label, since contact times vary by formulation and by the pathogen you're targeting.
What percentage of a boarding facility should be isolation space?
The appropriate amount of isolation space can shift based on facility size and local outbreak risk, so build in enough flexibility to expand isolation space quickly if needed.
Can I use the same mop or bucket in isolation and general kennels?
No. Isolation areas should use dedicated, color-coded tools and PPE that never cross back into general-population spaces, and disposable dishes are recommended for isolation animals rather than washable bowls.
Do boarding facilities need a written infection-control plan on-site?
Yes. Public-health inspection guidance from King County requires an accessible, written plan covering cleaning schedules, disinfectant dilutions, PPE, and isolation procedures that staff actually follow.
Sources
- CDC — Regulatory framework: disinfectants and sterilants
- NVAP Reference Guide: Cleaning and Disinfection (APHIS/USDA)
- Pet daycare/kennel/grooming inspection checklist — King County
- Compendium of Veterinary Standard Precautions for Zoonotic Disease Prevention in Veterinary Personnel (CDC)